close
Font size options
Increase or decrease the font size for this website by clicking on the 'A's.
Contrast options
Choose a color combination to give the most comfortable contrast.

Setting up OneLogin for Communico 

OneLogin offers Secure Single Sign-on (SSO) access to web apps.

If you have a OneLogin account you can add Communico as a Company App allowing your users to sign in to the Communico Control Panel with their existing credentials. This is a five-stage process.


1. Add Communico as an App in OneLogin.
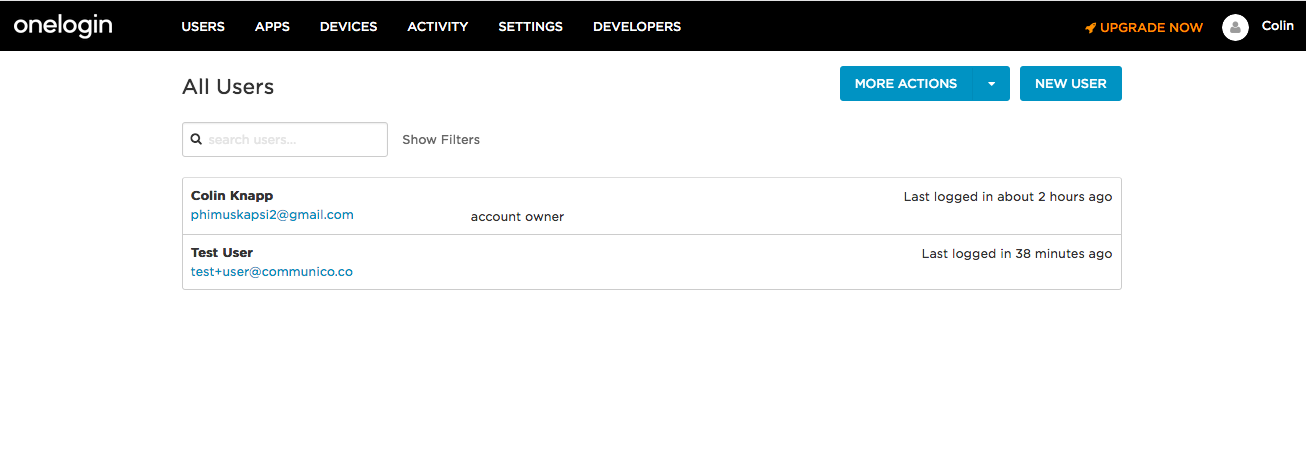
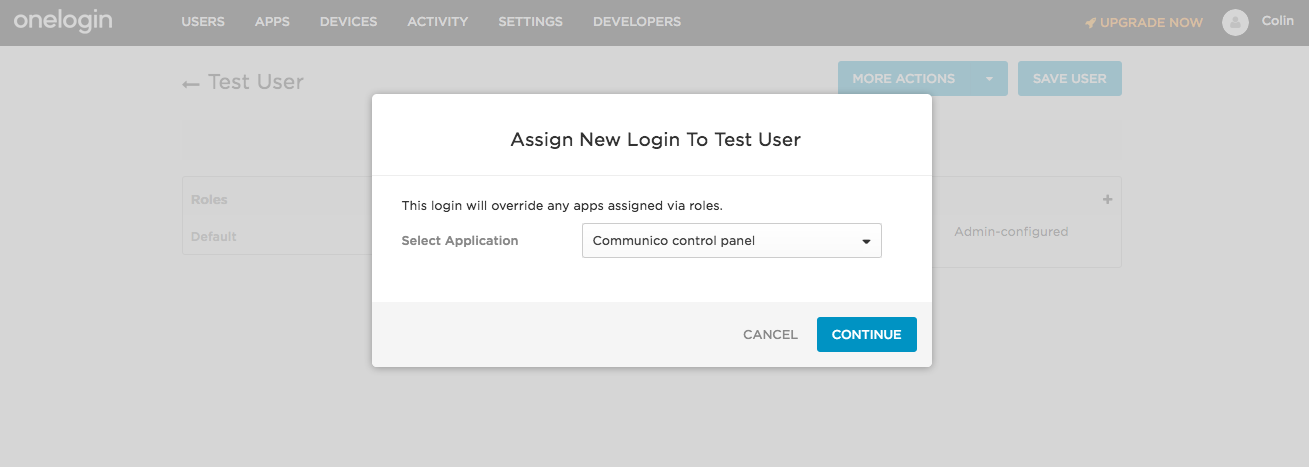
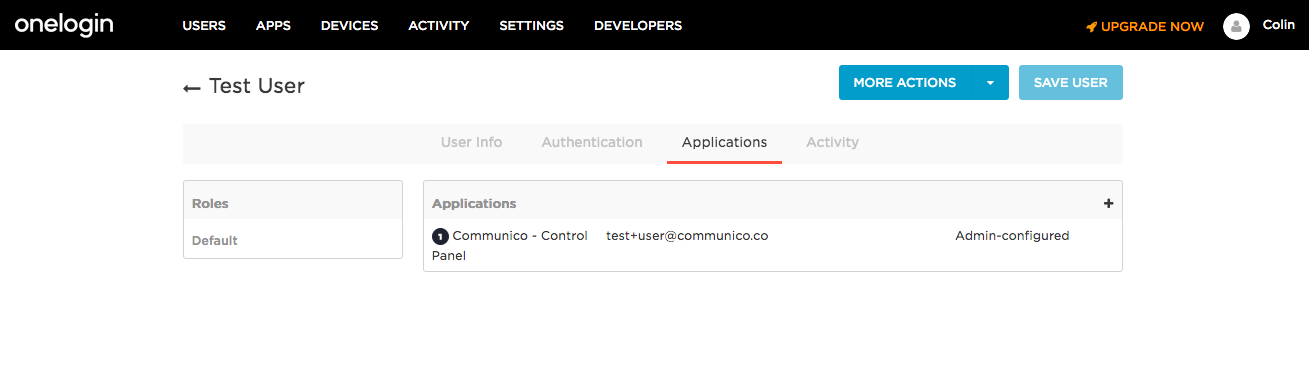
2. Give OneLogin Users access to the Communico App.
3. Contact Communico, who will configure and complete setup.
4. Confirm OneLogin to Control Panel.
5. Set Communico Control Panel user permissions for the new user. 


What to do

1. Add the Communico App to OneLogin

  1. Go to app.onelogin.com/login and sign into your account. (You must be a OneLogin administrator)

  2. Under Apps in the navigation bar, select Add Apps.
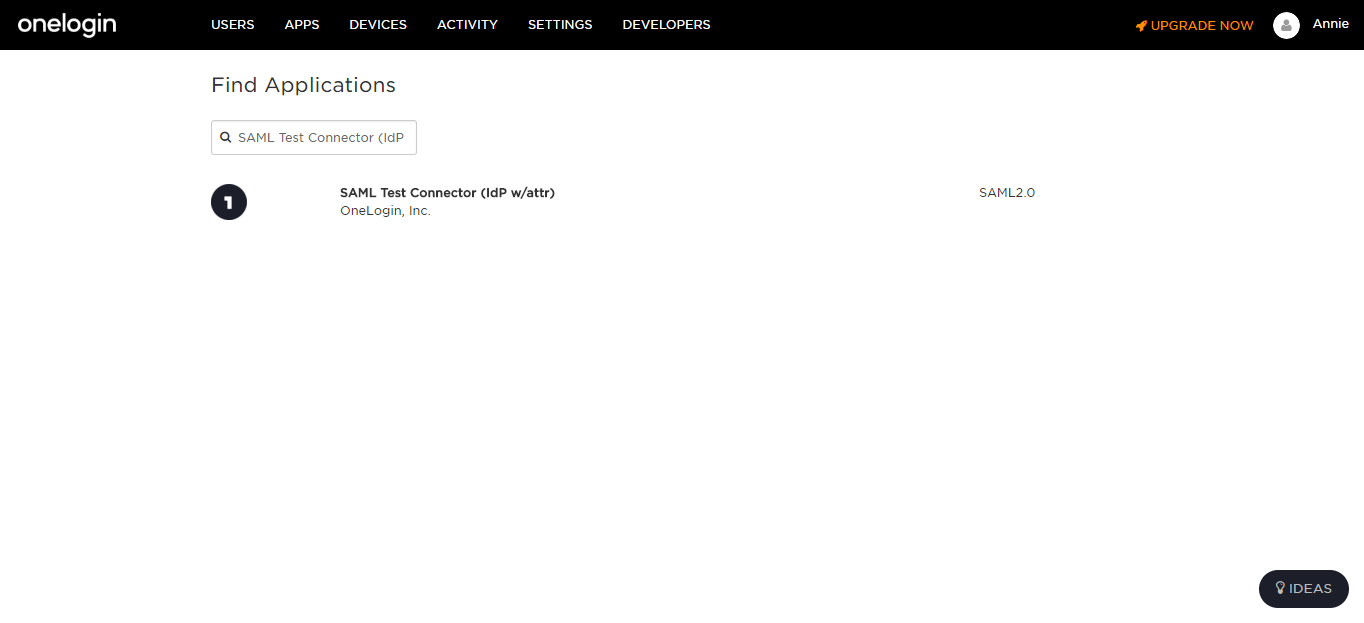
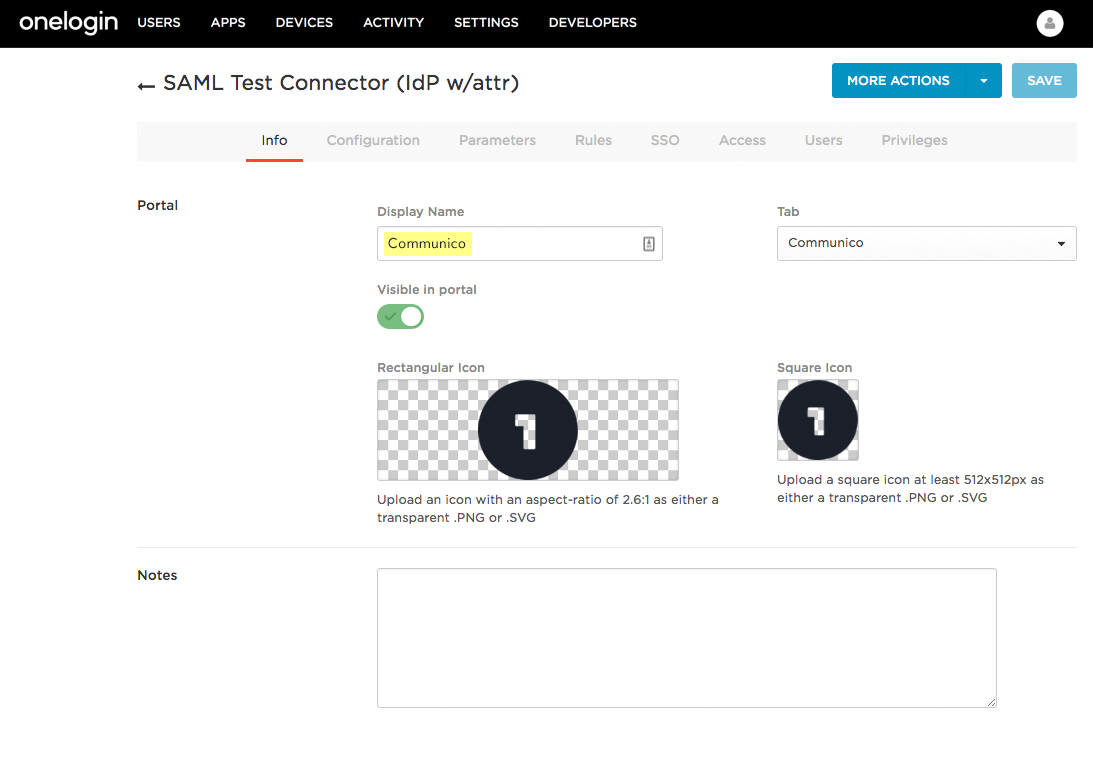
  3. Search for and select the app SAML Test Connector (IdP w/attr).

Set up the app

  1. Give the new app a Display Name (for example, Communico)

  2. Ensure Visible in portal is on
     
  3. You can also assign a tab and upload new identifying icons (optional).
     
  4. Save the app.

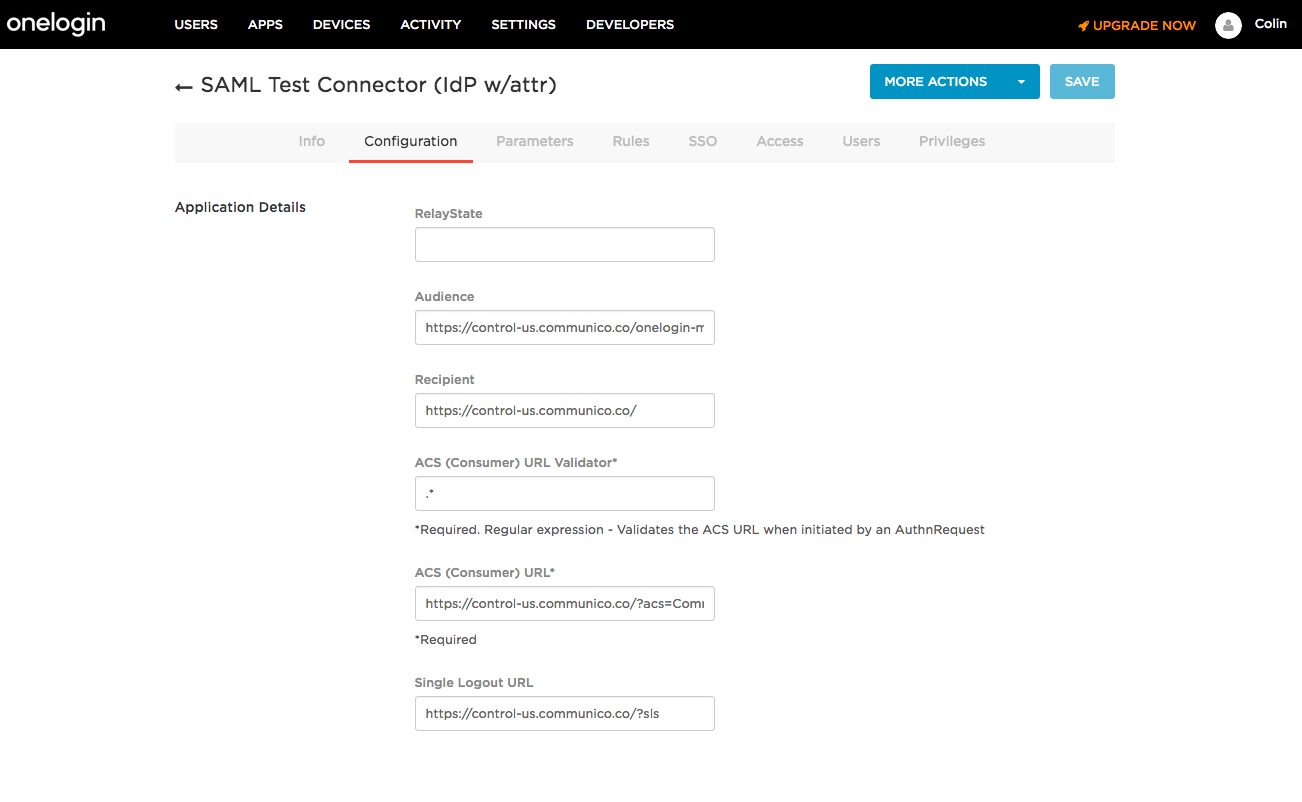
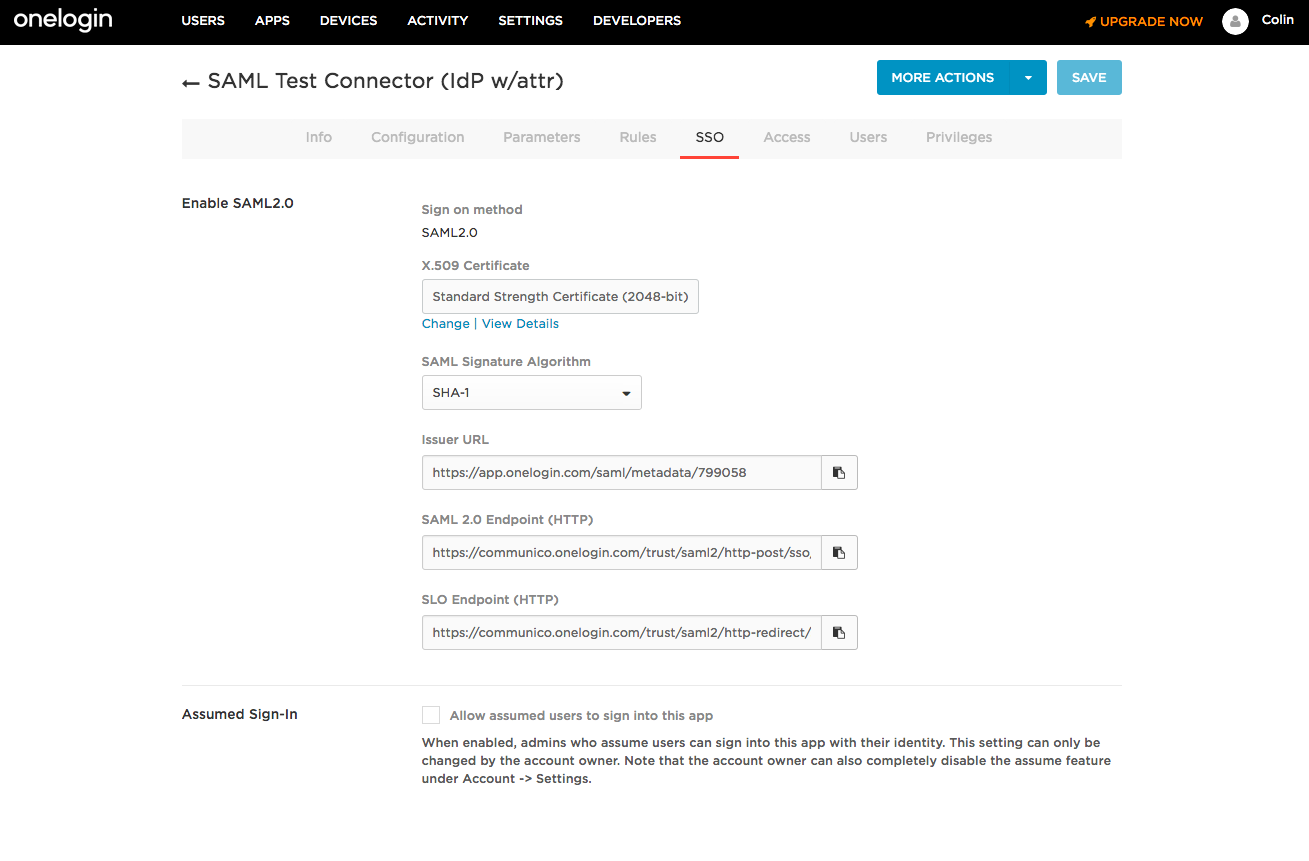
Under the Configuration tab:

  1. Set Audience to
    https://control-us.communico.co/onelogin-metadata

  2. Set Recipient to
    https://control-us.communico.co/

  3. Set ACS (Consumer) URL Validator to
    .*

  4. Set ACS (Consumer) URL to

    https://control-us.communico.co/?acs=keyword

    You will need to replace keyword in the above URL with your Communico client keyword.

  5. Set Single Logout to URL to
    https://control-us.communico.co/?sls

Under the Parameters tab:

  1. Add the following six standard fields using  Add parameter 
    1. E-mail (attribute)

    2. Email (SAML NameID)

    3. First Name (Attribute)

    4. Last Name (Attribute)

    5. Member of (Groups)
      (Attribute)

    6. PersonImmutableID

  2. Then add a custom field called “Company Name”, and set the value to “Company

  3. Save the changes.

3. Grant access for your OneLogin Users

  1. Select Users in the navigation bar.

  2. For each individual user, select their profile and go to the Applications tab.

  3. If they don't have access to the Communico app you have just set up, you need to add the app here. Click the '+' symbol, find the Communico app and click Continue.

  4. The Communico app, along with their user name, will then be listed on the Applications tab for that user.

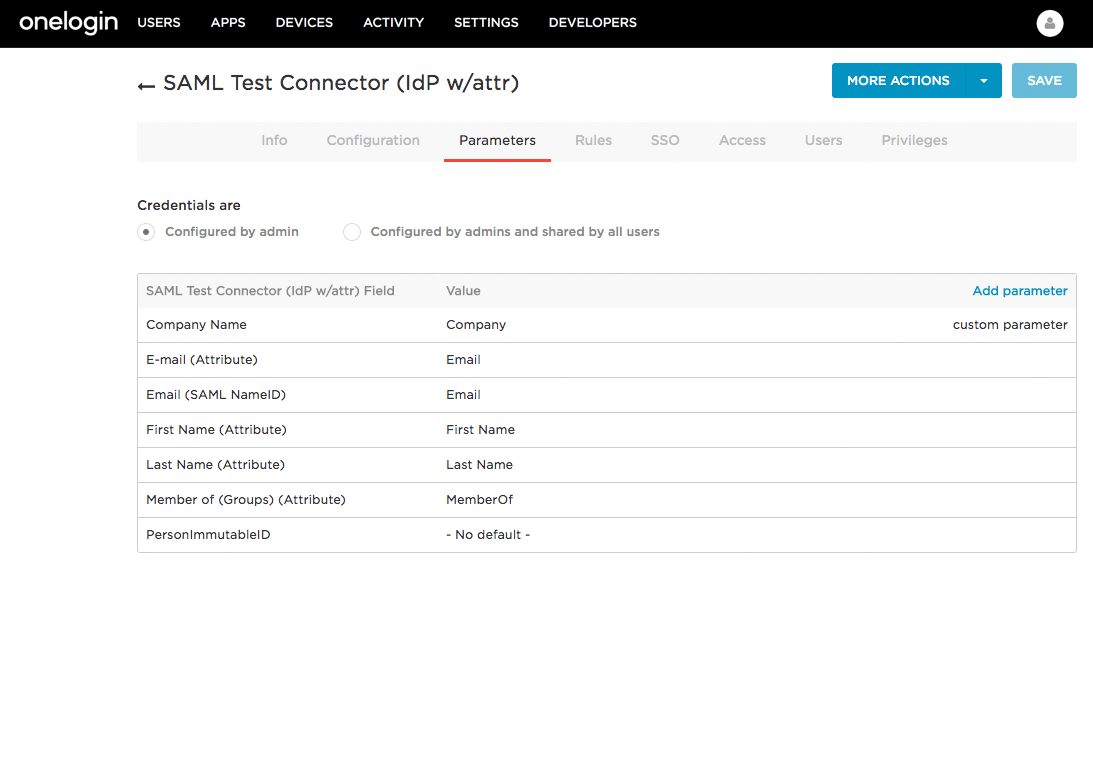
Note: Under the User Info tab, the Company field must match your Communico client keyword.

3. Contact Communico

  1. Email support@communico.co or contact the Communico Onboarding team and confirm that Communico has been added as an App within your OneLogin account.

  2. Include in your email the Issuer URL, SAML 2.0 Endpoint (HTTP), and SLO Endpoint (HTTP). These details can be found on the SSO tab of the OneLogin App Setup screen, which you can access by selecting the app under Apps, Company Apps in the navigation bar.

  3. Communico will finish setup and confirm that OneLogin is now available.

4. Log back in to OneLogin 

  1. After Communico confirm OneLogin is available, sign back in to OneLogin and click the App you created for Communico.

  2. A new window will open and login to Communico Control Panel will be attempted with the current OneLogin user.

  3. If login is successful the Communico Control Panel is displayed with no menu or options as the new user has no permissions set up.

5. Set Communico user permissions

  1. In the Communico Control Panel, click the Users dropdown in the top navigation and select the new user.

  2. Set permissions for the new user and save.

  3. User roles can also be assigned to the user if required.

Note: Only Administrators can add or change Communico users' permissions.