Communico now supports SAML-based Sign-on from any SAML provider such as Azure Active Directory and Microsoft ADFS. New users can be created automatically and mapped to user roles inside Communico.
Communico’s SSO solution also works with existing users, there is no need to recreate permissions or migrate users already on the Communico platform, they can login right away.
Please be aware that users manually setup within Communico prior to implementing SSO will need to be manually deleted from Communico in the event you want to revoke their access. Simply deleting them from your SSO provider will not remove their Communico access. If you’d like to bulk delete user accounts, please submit a support ticket or contact support@communico.us and we can complete this request on your behalf.
1. Sign into the server where ADFS is installed.
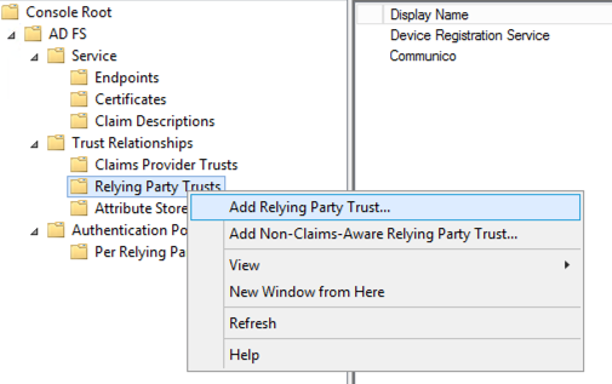
2. Open the ADFS management console, and select Trust relationships, then Relying party trusts in the left console tree.
3. Click Add relying party trust from the Actions menu on the right.
4. In the Select data source step, toggle the option Enter data about the relying party manually.

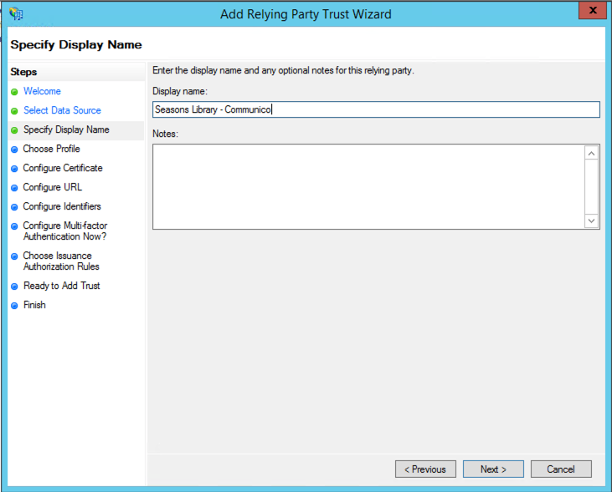
5. Next, specify the display name for your application in the Specify display name tab. We suggest a naming convention like: Company name – Communico. Add any optional notes that you may need.
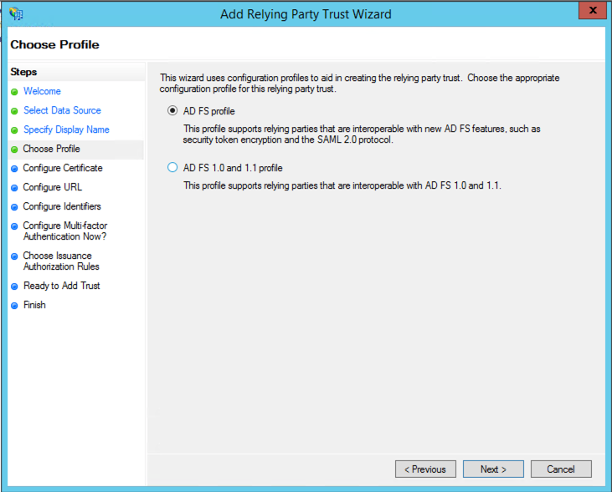
6. In the Choose profile tab, select ADFS profile.
7. On the Configure certificate tab, leave the certificate settings at their defaults.
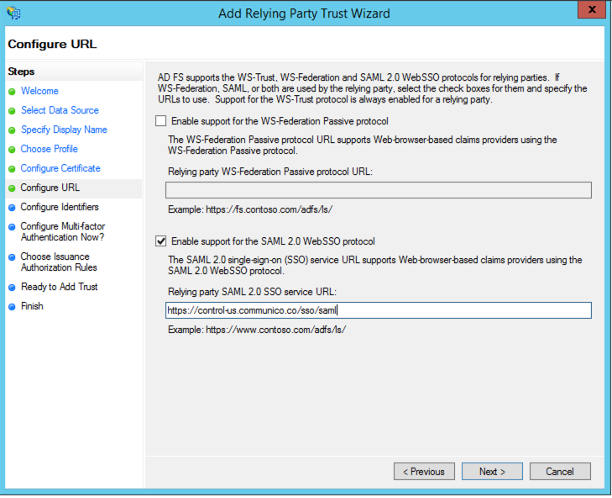
8. In the Configure URL tab, select the box Enable support for the SAML 2.0 WebSSO protocol, and enter the SAML service endpoint: https://control-us.communico.co/sso/saml
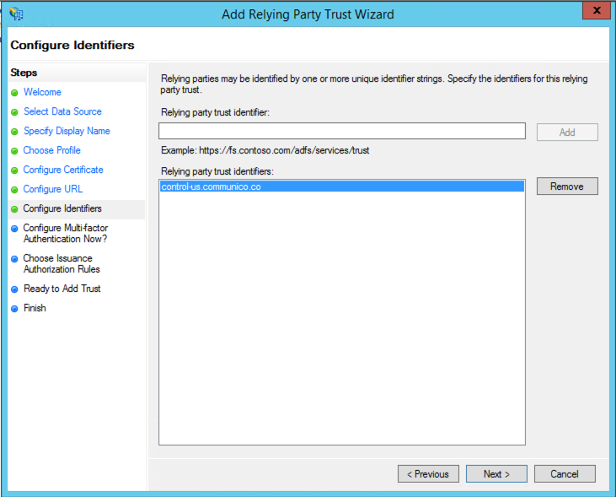
9. In the Configure identifiers tab, enter control-us.communico.co, and click Add. The spelling of this must be exact.
10. Add optional multi-factor authentication if required.
11. Select Permit all users to access this relying party, then click Next and review your settings.
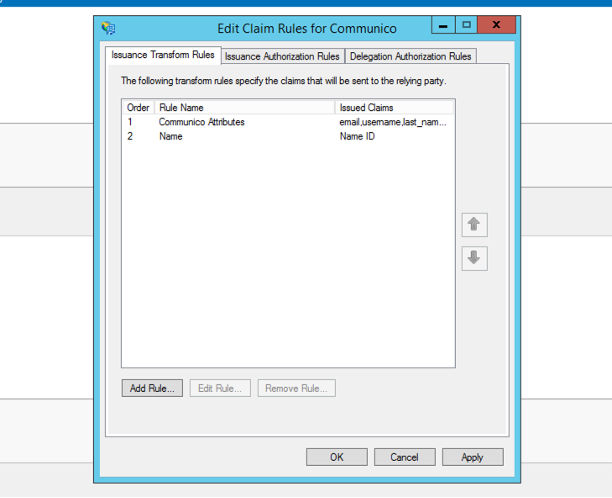
12. Make sure that you’ve toggled Open the edit claim rules dialogue for this relying party trust when the wizard closes and select Close.
13. Next, you'll create rules, or assertion claims, one for Communico attributes and one for NameID.
14. Click Add rule.
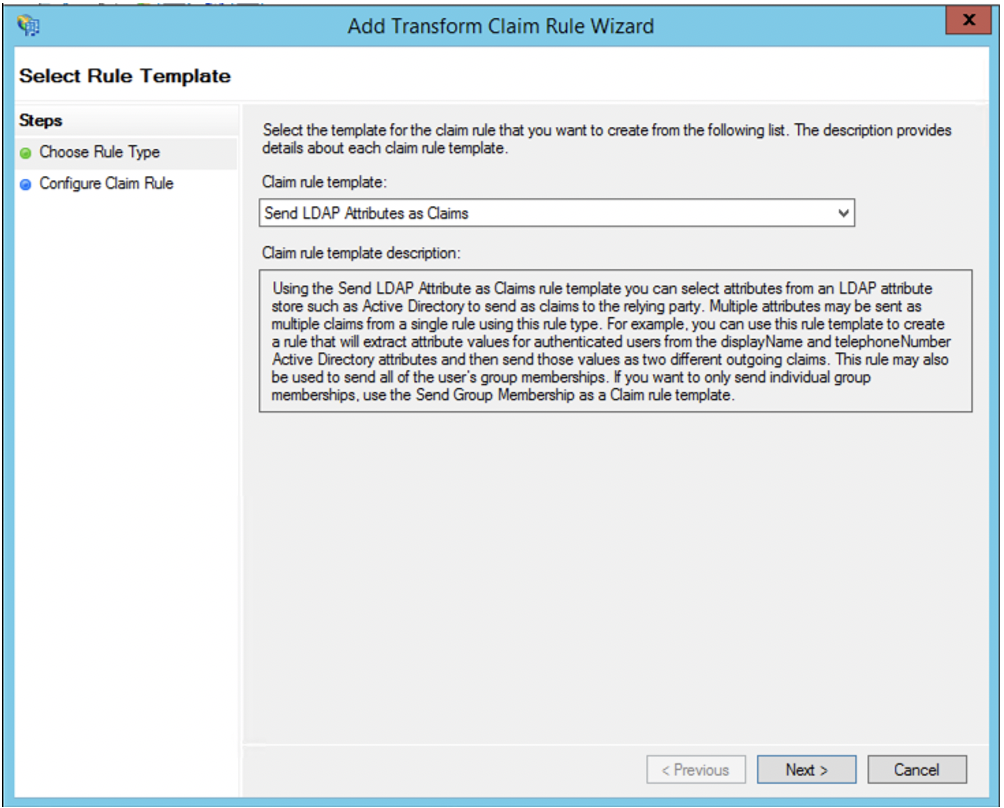
15. Create a rule to send LDAP attributes as claims.

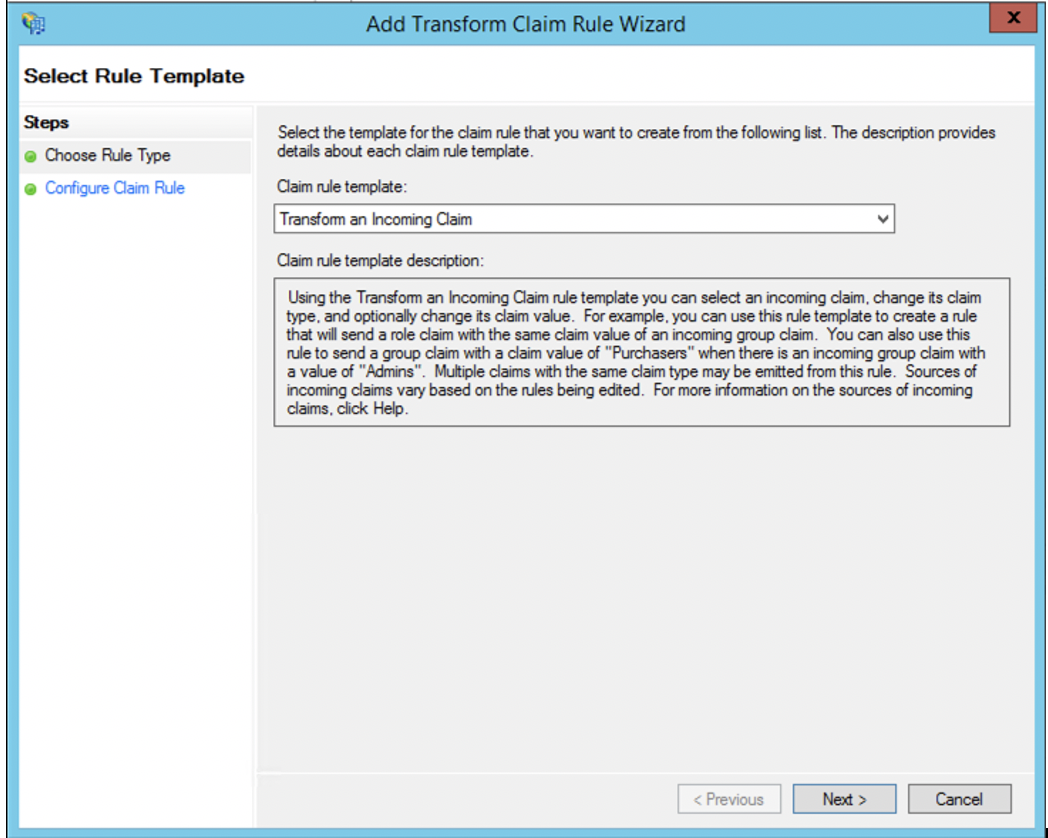
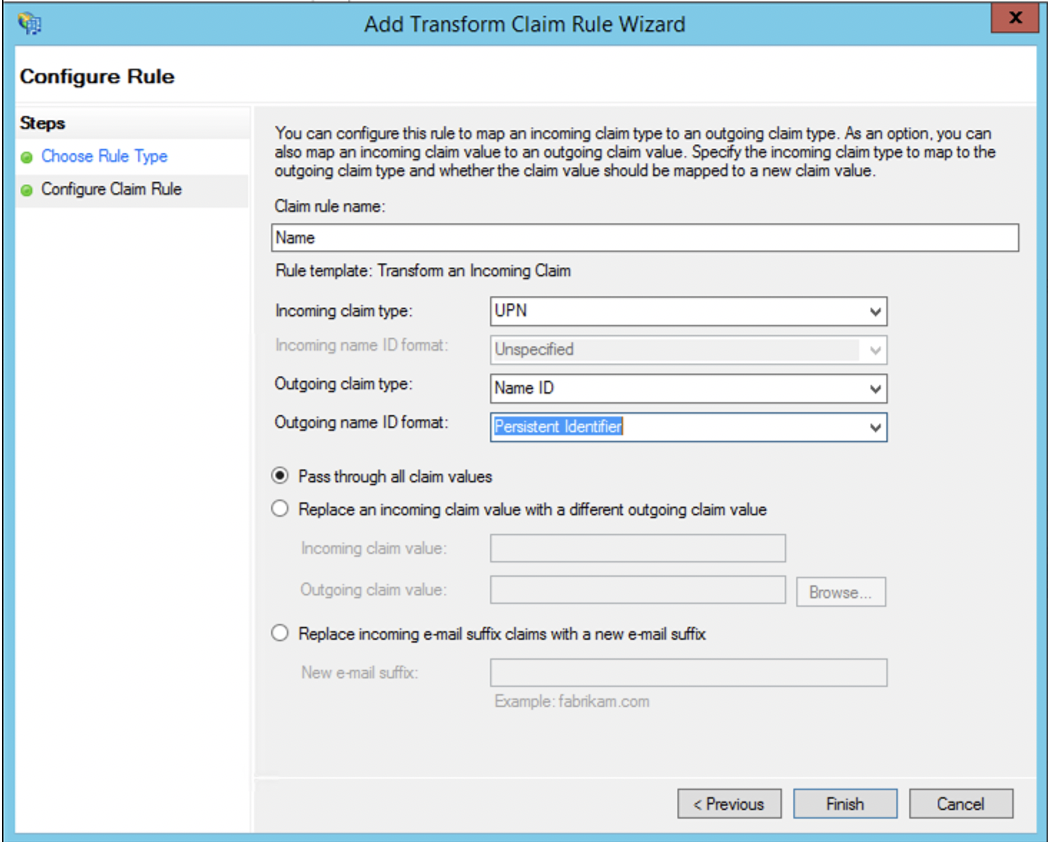
16. Next, create another rule to transform an incoming claim.
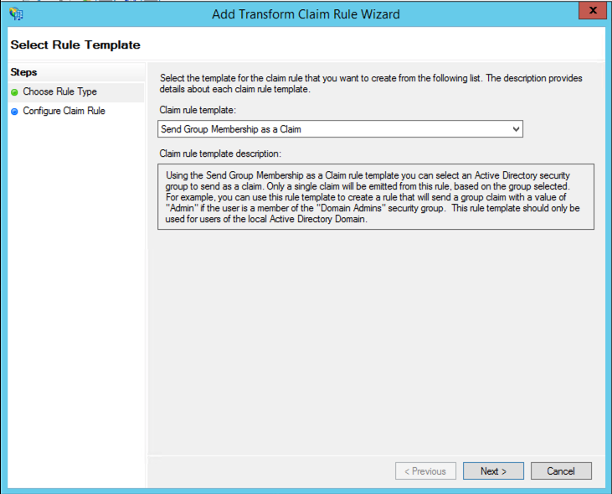
17. (optional) If you require Communico user roles to be mapped to groups then you will also need to add another claim using the Send Group Membership as a Claim template. Create one for each user role you would like mapped.
You should now be able to supply support@communico.us or your Communico Onboarding contact, with the following information:
SAML SSO URL (e.g https://yourdomain.com/adfs/ls)
Identity provider issuer (e.g.https://yourdomain.com/adfs/services/trust)
Token-signing x.509 public certificate
(optional) The outgoing claim values for any groups to be mapped
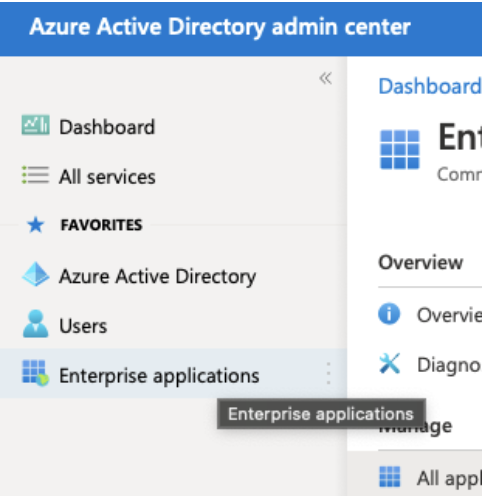
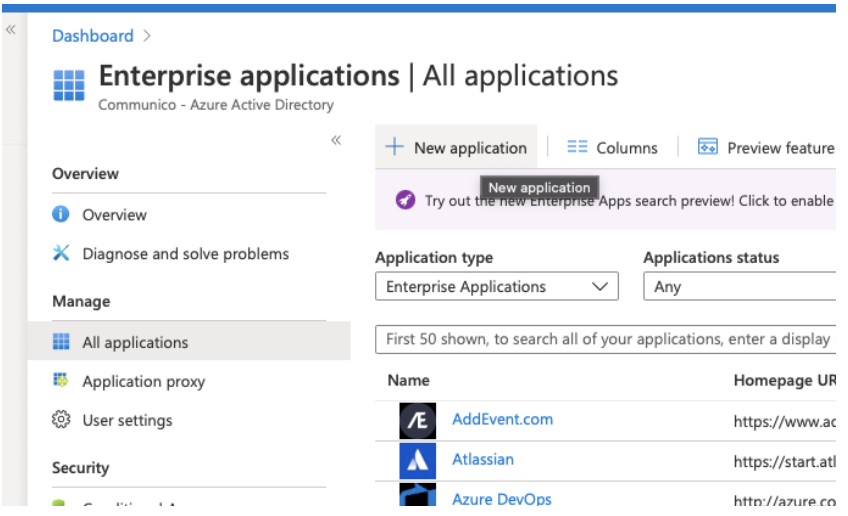
1. Sign in to Azure Active Directory admin center and select Enterprise applications from the left-hand menu, then select New application.
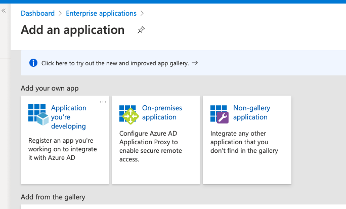
2. Choose Non-gallery application from the list
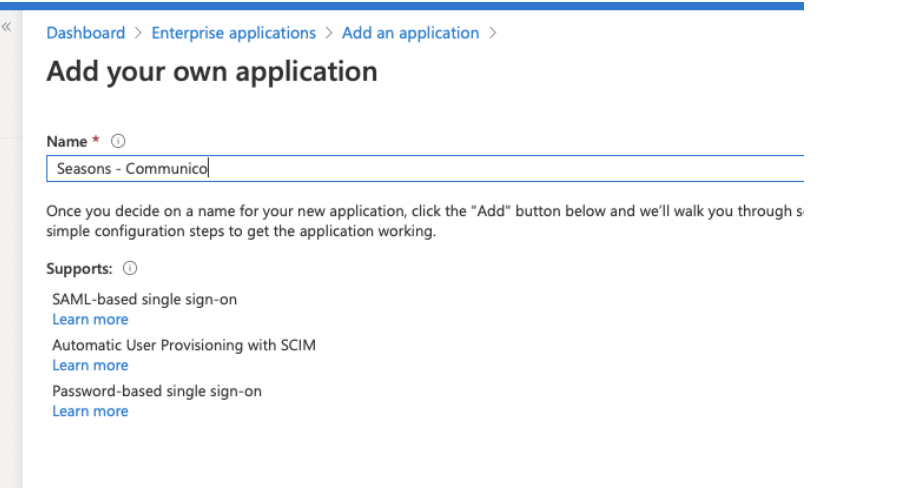
3. Enter the name; We suggest a naming convention like: Company name – Communico, then click Add.
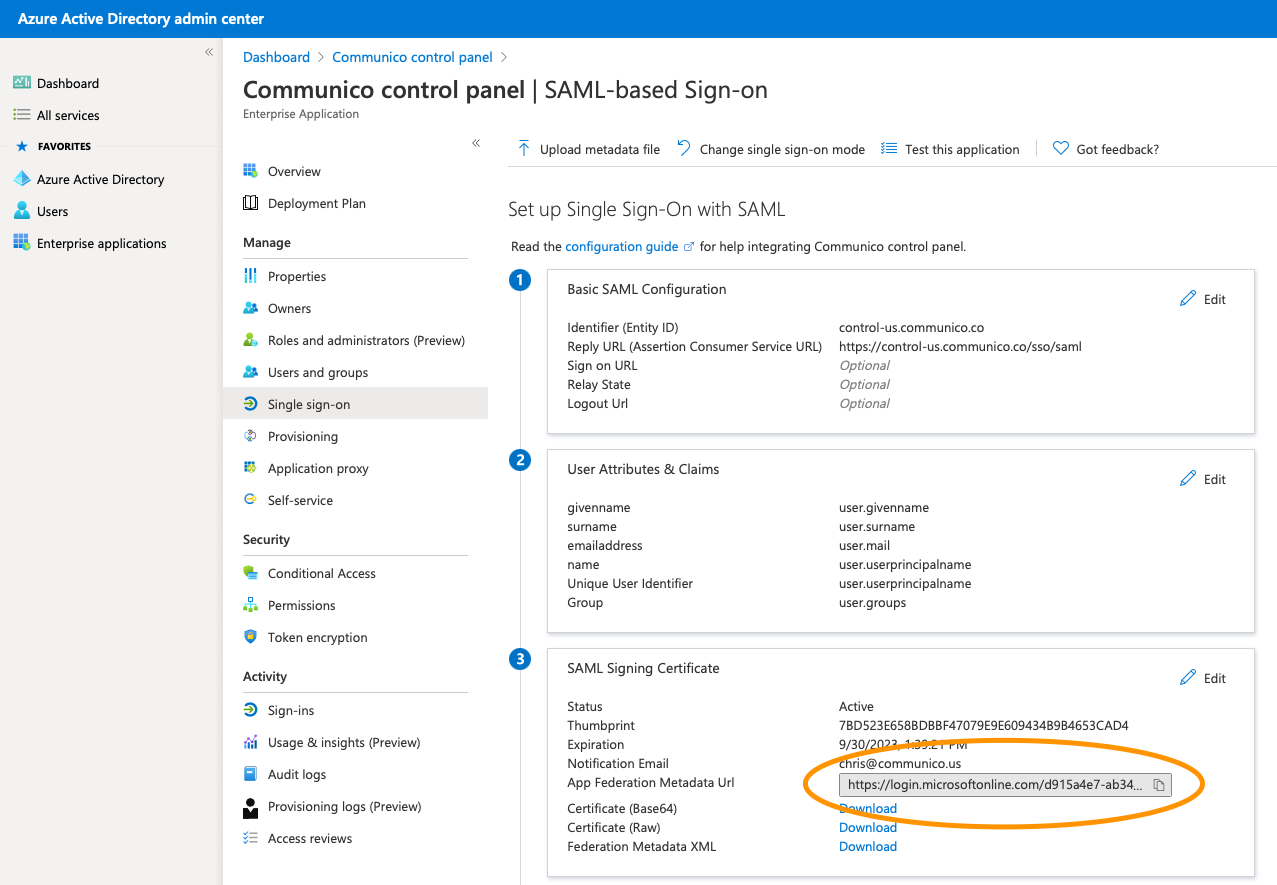
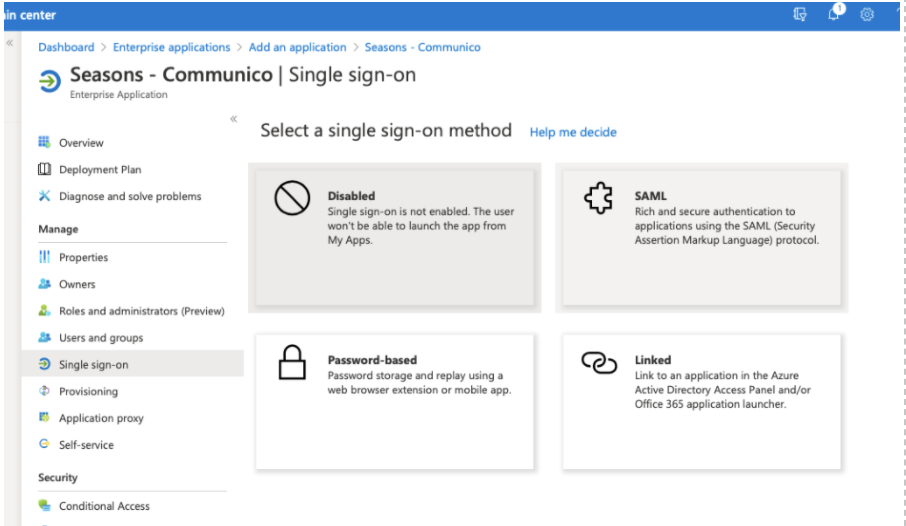
4. Select Single sign-on from the manage section and choose the SAML option.
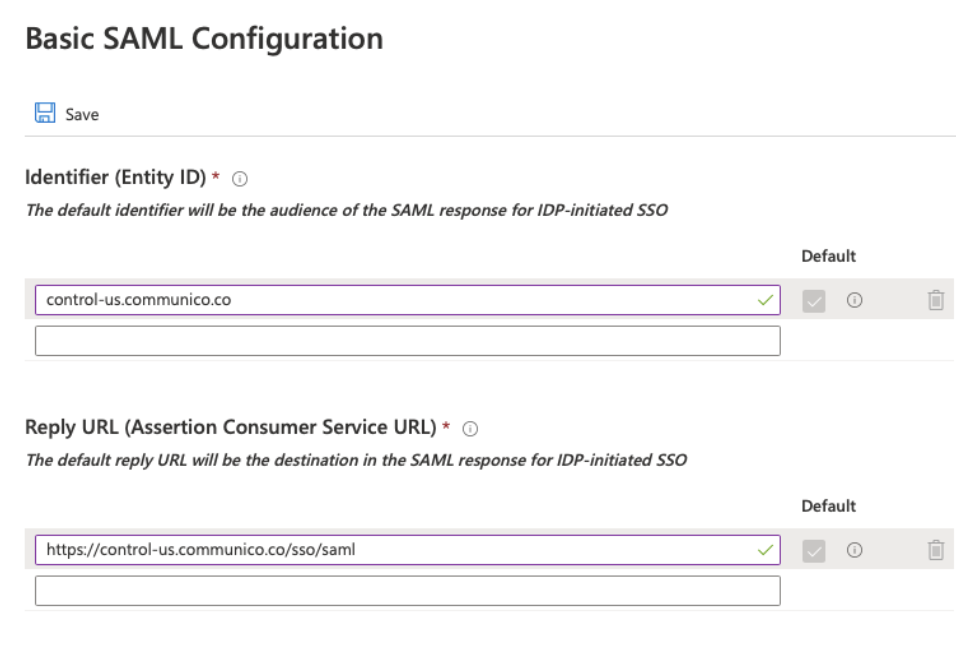
5. Click edit in the Basic SAML Configuration box.
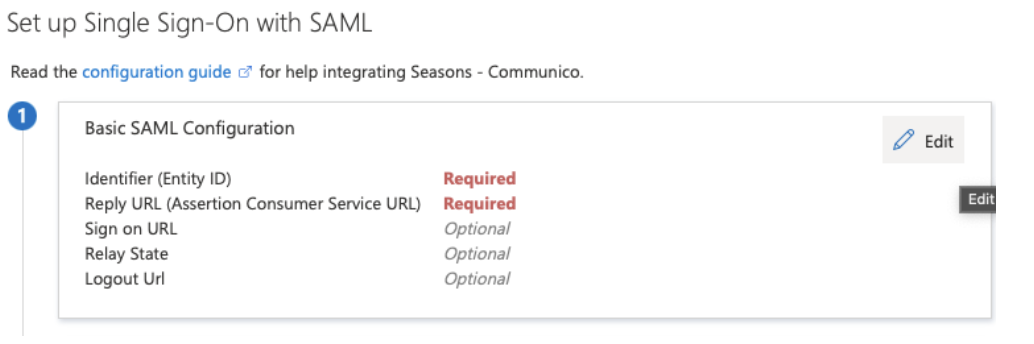
6. Enter control-us.communico.co in the Entity ID field an https://control-us.communico.co/sso/saml in the Reply URL field, then click Save.
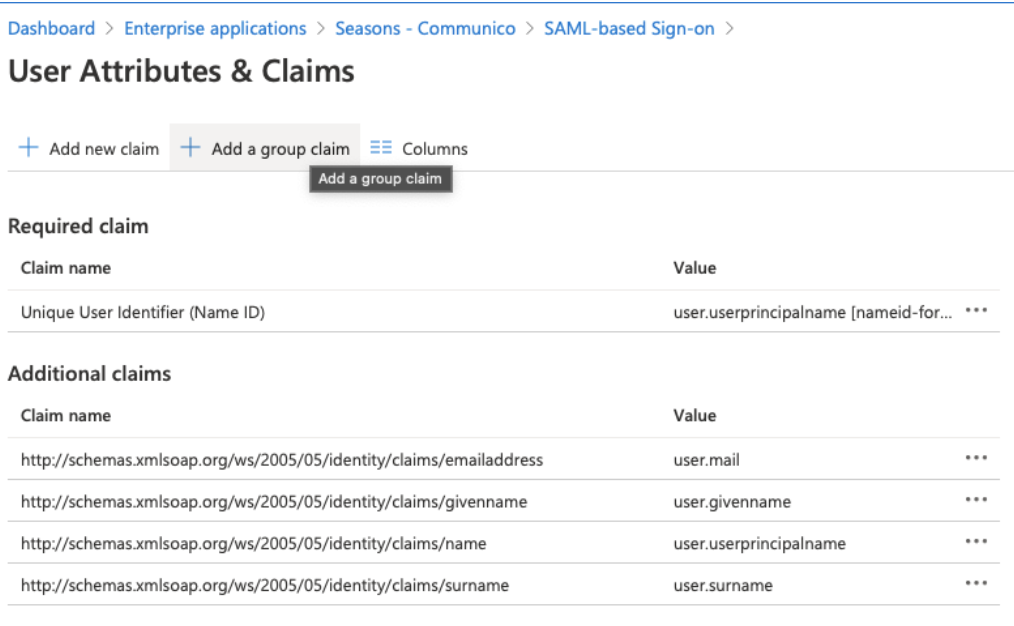
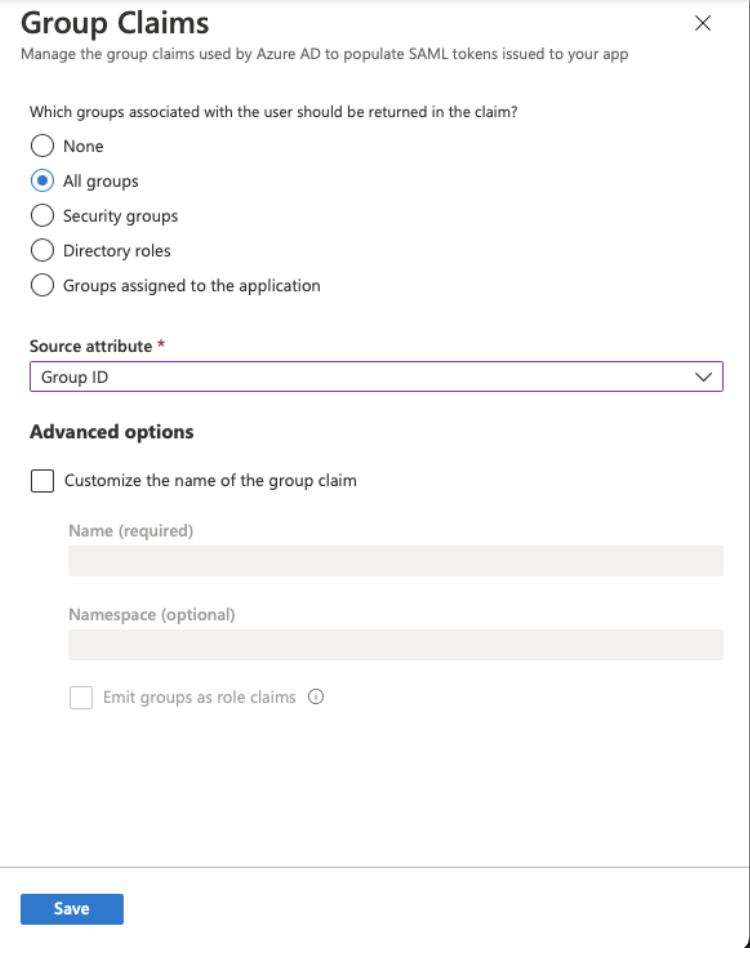
7. (optional) If you require Communico user roles to be mapped to groups then you will also need a group claim. Click edit on the User Attributes & Claims box, then click Add a group claim. Select what groups you would like returned and click Save.
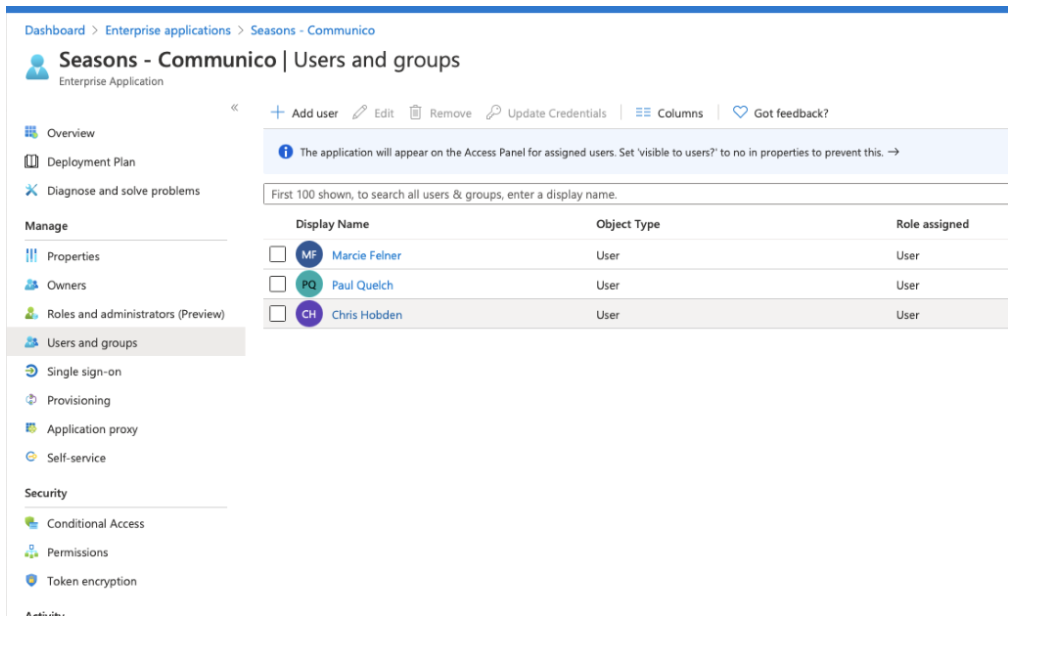
8. In the Manage section, click Users and groups and assign users that you would like to be able to login to Communico.
You should now be able to supply support@communico.us or your Communico Onboarding contact, with the following information:
App Federation Metadata URL
Azure AD Identifier
Login URL
(optional) Raw Certificate
The "App Federation Metadata URL" can be found in the "Single sign-on" section of your newly created application.